
This was a compilation of several pinterest finds. I'm not sure that I even really looked at the recipes, I just saw the pictures and knew that I had to make it. Now!
The components:
broccoli pesto
portabella pizzarettes and
pasta
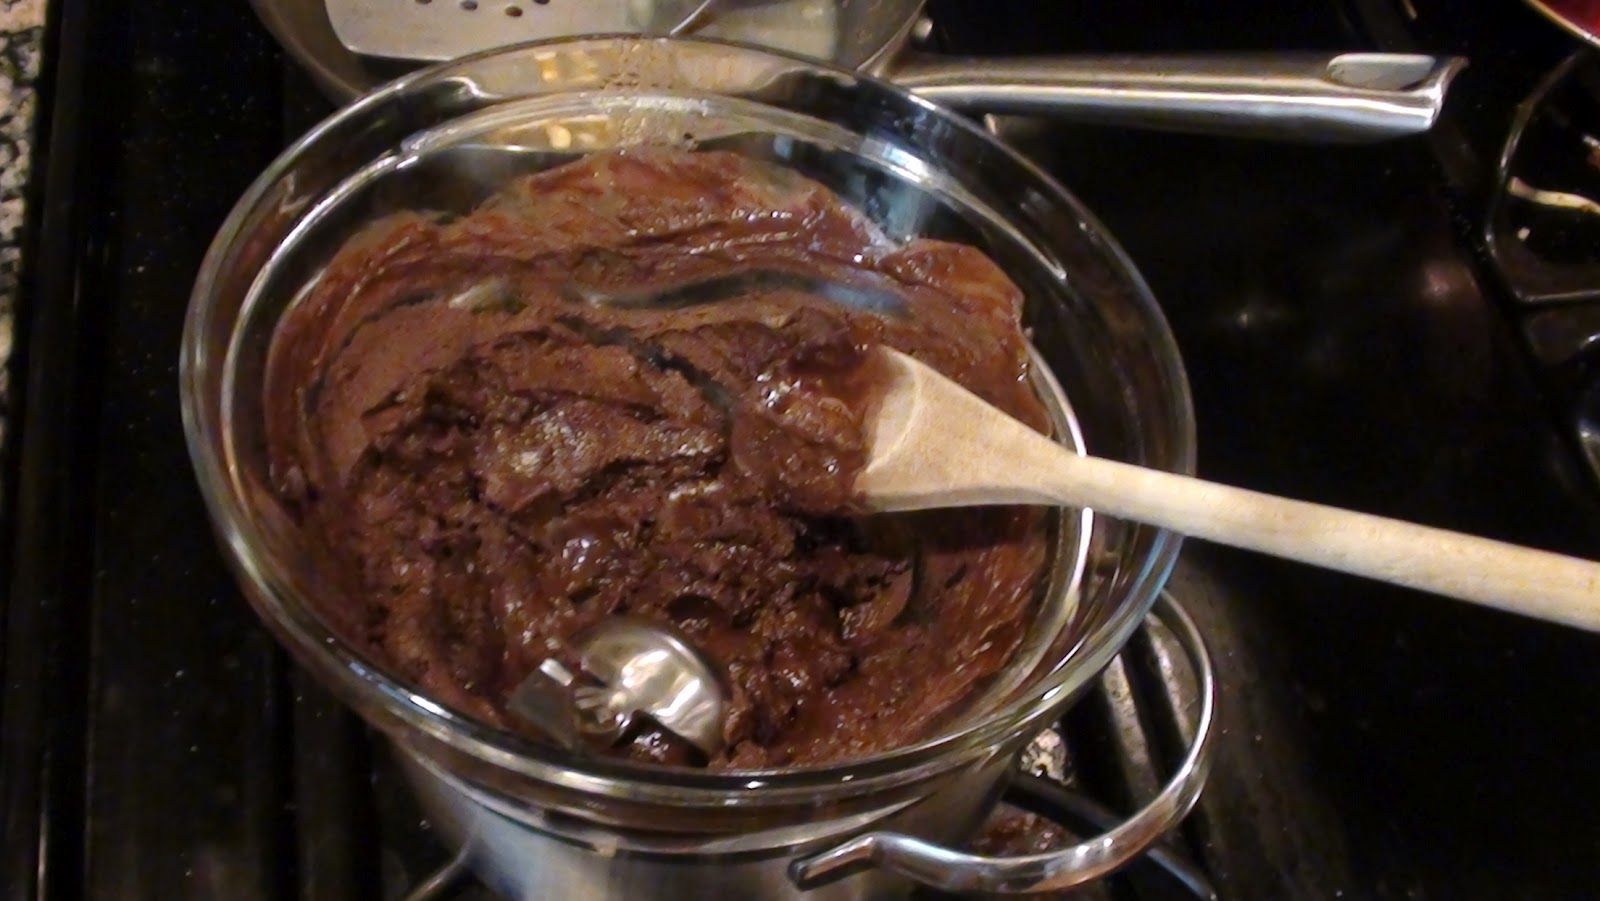
Broccoli pesto: I happened to have both the fresh basil and the portabellas in the fridge, so this was just destined to happen! For the broccoli pesto, I cut up about a cup of broccoli. I added a few leaves of fresh basil, and blended in my food processor while slowly adding olive oil until I liked the consistency. Maybe a quarter of a cup. Then I shredded about a quarter of a cup or so of fresh parmesan cheese and threw in some walnuts. I didn't have pine nuts, that would have been too perfect! Season with salt and pepper to taste.
Portebella pizzarettes: So, this should really be the first step, but I didn't think of it until later. You should totally marinate the mushrooms in balsamic vinegar for a little while before you start, it adds fabulous flavor. Since the balsamic vinegar cuts through pretty easily, you don't need to marinate it for long. It should probably be the first thing you do though, so the mushrooms can absorb that flavor while you get everything else together. When you are ready to start cooking, put a scoop of marinara sauce in the mushroom. I used Trader Joe's sauce, it was really tasty. Usually I make my own, but I've been trying to use less canned goods. And tomatoes aren't really in season yet. Then a layer of cheese. Bake this in the oven at 350 for about 15-20 minutes.
While the mushrooms are baking you can make up some of your favorite pasta. When that is done, toss with the pesto, add some more cheese, and take the mushroom pizzarettes out of the oven. Spectacular!


And yes, I ate the entire plate....and finished what J didn't eat. It was goooooood!
On a separate day I made these amazing peanutbutter cups. I figured I could just toss them into this post. So decadent. So good. Totally worth the effort. And pretty much guilt free!!
This recipe I adapted from this site, which is totally worthwhile to browse. There are some amazing ideas there. (http://www.ournourishingroots.com/honey-sweetened-gaps-peanut-butter-cups/). These are actually GAPS legal..or can be done that way. I will probably revisit these at a later date, but for now....indulge!
Home Made Peanutbutter cups; dairy and gluten free! And sugar free. Mostly.

Since I didn't have all of the ingredients on hand for this recipe, mine is not as "good" per se, but still delicious!
For the chocolate, I melted down some semisweet chocolate chips. You could use cocobutter, or unsweetened chocolate. To that I added some raw honey to sweeten, and some coconut oil so that when the chocolate cooled it would have help to harden in to a nice shape. I used one bag of chips, and probably 1.5 tablespoons each of the honey and coconut oil.
For the peanut butter, I put it in the microwave for a quick minute just to soften it a little, then I mixed in some honey to sweeten it some. And a little extra salt for contrast.

You do have to work a little quick though, since the chocolate will begin to harden as it cools.

No comments:
Post a Comment