Since this is supposed to be something of a food blog, I figured that I would add in a recipe. It's been quite a while, sorry!!
It's the unofficial start to the fall, and that makes me super happy. I absolutely love this time of the year; the crisp air, the beautiful fall foliage, and best of all, my kitchen isn't a gazillion degrees, so I am able to cook up a storm! I am almost jumping for joy to start making some slow cooking bone broths, braising some meats, and just laying back and eating some damn good food!
To start off, this is a soup/meat and gravy dish that I made in the slow cooker. I love the slow cooker too. Fall and Winter dishes are some that just kind of "come together" with what we have. Volumes are not going to be accurate, and they will change depending on how much I have of each thing. Most of these slow cooker meals you can add less liquid to make a sort of gravy to pour over rice, potatoes, or squash (or anything else really!) and more liquid to make a soup. The type of meat used in these dishes is also going to be pretty easy to substitute too. Use these recipes as a jumping off point!
My routine for the coming seasons is to roast a chicken every week. From that chicken, I will use the meat in various dishes and I will use the bones to make a broth to use in meals for the week. I will use the organ meat as well. The liver I will use in dishes and the other organs go into the broth. I keep whatever fat comes off the bird for my broth too, and I also use a splash of vinegar to help get the nutrients from the bones into the broth. The result is a tasty base full of essential nutrients along with the fat to help our bodies assimilate all of those nutrients. It's fabulous. I also make a gravy when I roast the bird.
On the weekends, whenever possible, we will braise a big hunk of meat (recipe to come!). Braising, besides helping create a memorable meal, also provides you with a lot of extra gravy. Make sure that you keep it!
For this dish you will need:
Meat (I used 3 med sized pork chops, but you could use anything, really)
2 cups of chicken stock
1.5 cups of gravy
3 carrots
3 ribs of celery
1 16 oz can of diced tomatoes and the juice
a bunch of spinach
(I also had an eggplant handy, so added that - it added a nice touch of sweetness!)
Herbs from the garden if you have them, otherwise dried herbs will work. I used a bit of thyme, oregano, and rosemary.
Salt and pepper
This recipe makes a rather thick version that we poured over baked potatoes, the next day I added a little more broth and a little more gravy to make it more of a soup. That is what is in the picture.
So, cut up the veggies (onion would work in here too, and so would garlic...but it's not going to make or break the dish....unless you are a garlic fiend!) and throw them into the slow cooker. Add the meat, tomatoes, and spinach. Then just cover with broth and the herbs...I cut a large sprig of each herb. You could add about a tablespoon of oregano...thyme and rosemary can be very overpowering, so I would add half a tablespoon of those, and adjust if necessary. Adding the bit of gravy is a nice way to give this a rich flavor with a lot of depth. So. Worth. It.
Cook on high for 4-5 hours or low for 7-8. Pull meat apart with a fork to break it up a bit.
Just be prepared to want to make this every week!! Or more.....
Really, though, adding the gravy just makes this dish over-the-top delicious!
So this is my first attempt at blogging! Enough people ask me about recipes/how to cook for food allergies that I figured I could start a blog about it. I hope this can be a fun place to share recipes, talk about food allergies, and eventually document my journey into the GAPS diet. If nothing else, I will have an easy way to find my favorite recipes!
Showing posts with label GAPS. Show all posts
Friday, September 7, 2012
Hello Fall!
Labels:
beef,
broth,
carrots,
celery,
chicken,
dairy free,
fat,
GAPS,
grain free,
gravy,
healthy,
paleo,
pork,
slow cooker,
soup,
soy free
Saturday, May 19, 2012
Thinking Back to yummy
This was just a great, yummy recipe that I tried and really loved. I just wanted to share it. I have a bunch to say, but I don't have time to get into it right now. But I figured I would share this delicious treat.
This was a compilation of several pinterest finds. I'm not sure that I even really looked at the recipes, I just saw the pictures and knew that I had to make it. Now!
The components:
broccoli pesto
portabella pizzarettes and
pasta
Broccoli pesto: I happened to have both the fresh basil and the portabellas in the fridge, so this was just destined to happen! For the broccoli pesto, I cut up about a cup of broccoli. I added a few leaves of fresh basil, and blended in my food processor while slowly adding olive oil until I liked the consistency. Maybe a quarter of a cup. Then I shredded about a quarter of a cup or so of fresh parmesan cheese and threw in some walnuts. I didn't have pine nuts, that would have been too perfect! Season with salt and pepper to taste.
Portebella pizzarettes: So, this should really be the first step, but I didn't think of it until later. You should totally marinate the mushrooms in balsamic vinegar for a little while before you start, it adds fabulous flavor. Since the balsamic vinegar cuts through pretty easily, you don't need to marinate it for long. It should probably be the first thing you do though, so the mushrooms can absorb that flavor while you get everything else together. When you are ready to start cooking, put a scoop of marinara sauce in the mushroom. I used Trader Joe's sauce, it was really tasty. Usually I make my own, but I've been trying to use less canned goods. And tomatoes aren't really in season yet. Then a layer of cheese. Bake this in the oven at 350 for about 15-20 minutes.
While the mushrooms are baking you can make up some of your favorite pasta. When that is done, toss with the pesto, add some more cheese, and take the mushroom pizzarettes out of the oven. Spectacular!
And yes, I ate the entire plate....and finished what J didn't eat. It was goooooood!
On a separate day I made these amazing peanutbutter cups. I figured I could just toss them into this post. So decadent. So good. Totally worth the effort. And pretty much guilt free!!
This recipe I adapted from this site, which is totally worthwhile to browse. There are some amazing ideas there. (http://www.ournourishingroots.com/honey-sweetened-gaps-peanut-butter-cups/). These are actually GAPS legal..or can be done that way. I will probably revisit these at a later date, but for now....indulge!
Home Made Peanutbutter cups; dairy and gluten free! And sugar free. Mostly.
I would have done a picture with the peanutbutter showing, but I kept eating them too quick. Oh well, I'll just have to try again. ::super exaggerated sigh::
Since I didn't have all of the ingredients on hand for this recipe, mine is not as "good" per se, but still delicious!
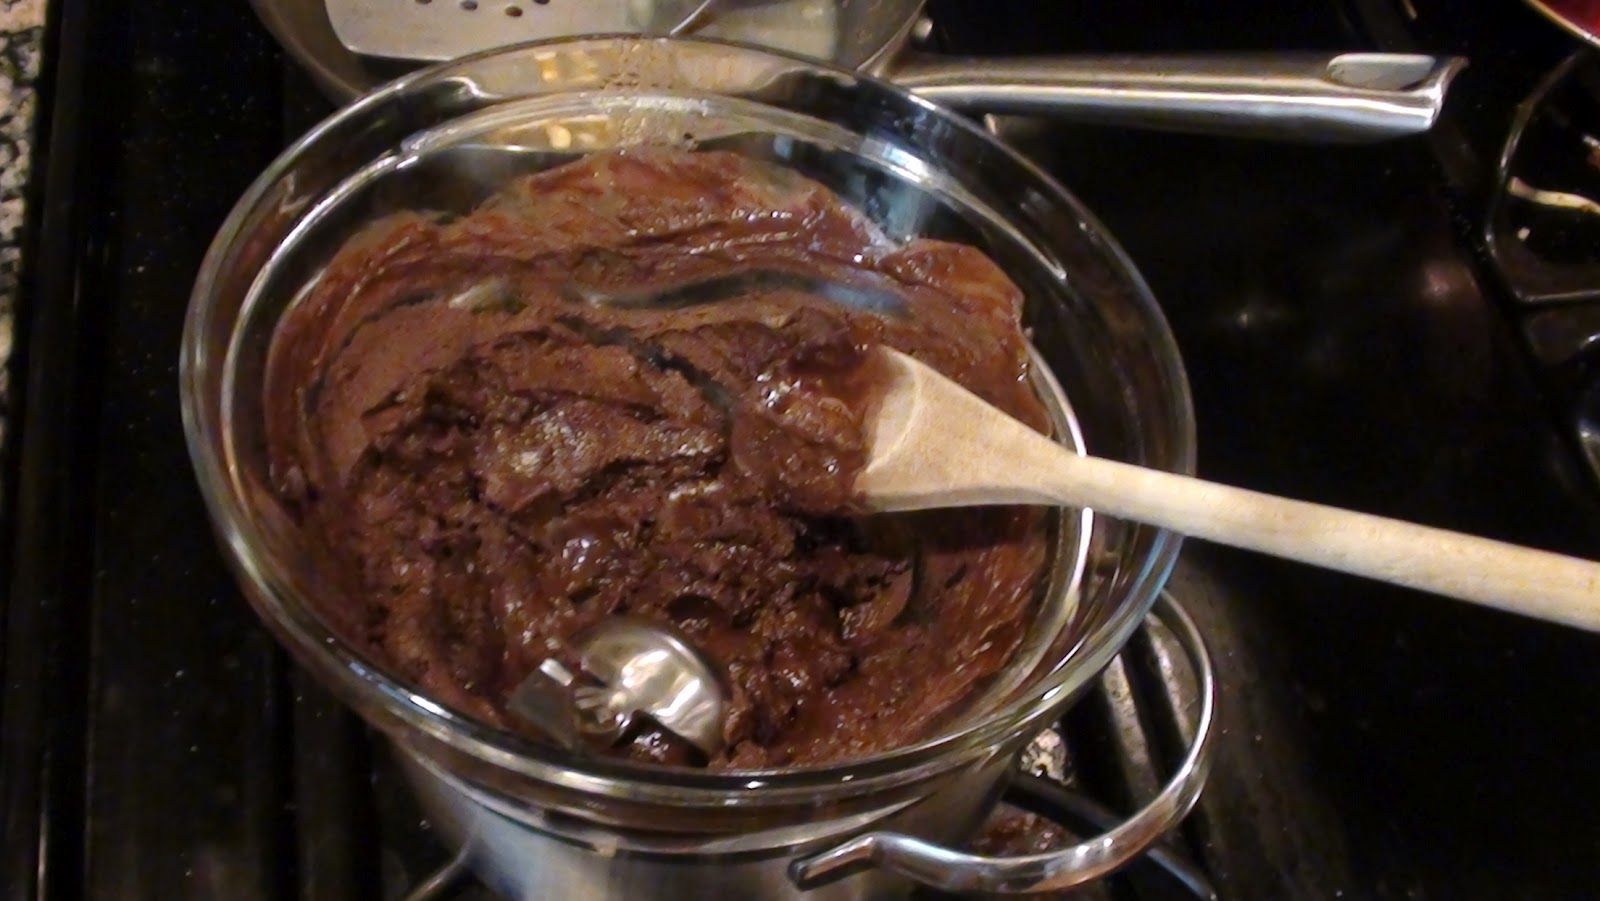
For the chocolate, I melted down some semisweet chocolate chips. You could use cocobutter, or unsweetened chocolate. To that I added some raw honey to sweeten, and some coconut oil so that when the chocolate cooled it would have help to harden in to a nice shape. I used one bag of chips, and probably 1.5 tablespoons each of the honey and coconut oil.
For the peanut butter, I put it in the microwave for a quick minute just to soften it a little, then I mixed in some honey to sweeten it some. And a little extra salt for contrast.
The chocolate mixture was in a double boiler set up, and I took my tablespoon and scooped out the chocolate into my mini muffin pan, which I had lined with muffin wrappers. It was hot. But I suffered through it! I put a small scoop into the bottom of the pan, then I used my fingers to flatten it out. Then I put a small scoop of peanut butter on top of the chocolate, then finished off with another scoop of chocolate, which I pressed out to make sure it covered all of the peanutbutter. And repeat. Until you run out.
You do have to work a little quick though, since the chocolate will begin to harden as it cools.
When you have finished setting up the cups, put them in the fridge to cool. The chocolate with the coconut oil will harden and the muffin wrappers make the nice edges so that when you take them out, they look like real peanut butter cups! Absolutely amazing. They are pretty rich too, so you won't be able to eat too many. Or maybe you will........
This was a compilation of several pinterest finds. I'm not sure that I even really looked at the recipes, I just saw the pictures and knew that I had to make it. Now!
The components:
broccoli pesto
portabella pizzarettes and
pasta
Broccoli pesto: I happened to have both the fresh basil and the portabellas in the fridge, so this was just destined to happen! For the broccoli pesto, I cut up about a cup of broccoli. I added a few leaves of fresh basil, and blended in my food processor while slowly adding olive oil until I liked the consistency. Maybe a quarter of a cup. Then I shredded about a quarter of a cup or so of fresh parmesan cheese and threw in some walnuts. I didn't have pine nuts, that would have been too perfect! Season with salt and pepper to taste.
Portebella pizzarettes: So, this should really be the first step, but I didn't think of it until later. You should totally marinate the mushrooms in balsamic vinegar for a little while before you start, it adds fabulous flavor. Since the balsamic vinegar cuts through pretty easily, you don't need to marinate it for long. It should probably be the first thing you do though, so the mushrooms can absorb that flavor while you get everything else together. When you are ready to start cooking, put a scoop of marinara sauce in the mushroom. I used Trader Joe's sauce, it was really tasty. Usually I make my own, but I've been trying to use less canned goods. And tomatoes aren't really in season yet. Then a layer of cheese. Bake this in the oven at 350 for about 15-20 minutes.
While the mushrooms are baking you can make up some of your favorite pasta. When that is done, toss with the pesto, add some more cheese, and take the mushroom pizzarettes out of the oven. Spectacular!
And yes, I ate the entire plate....and finished what J didn't eat. It was goooooood!
On a separate day I made these amazing peanutbutter cups. I figured I could just toss them into this post. So decadent. So good. Totally worth the effort. And pretty much guilt free!!
This recipe I adapted from this site, which is totally worthwhile to browse. There are some amazing ideas there. (http://www.ournourishingroots.com/honey-sweetened-gaps-peanut-butter-cups/). These are actually GAPS legal..or can be done that way. I will probably revisit these at a later date, but for now....indulge!
Home Made Peanutbutter cups; dairy and gluten free! And sugar free. Mostly.
I would have done a picture with the peanutbutter showing, but I kept eating them too quick. Oh well, I'll just have to try again. ::super exaggerated sigh::
Since I didn't have all of the ingredients on hand for this recipe, mine is not as "good" per se, but still delicious!
For the chocolate, I melted down some semisweet chocolate chips. You could use cocobutter, or unsweetened chocolate. To that I added some raw honey to sweeten, and some coconut oil so that when the chocolate cooled it would have help to harden in to a nice shape. I used one bag of chips, and probably 1.5 tablespoons each of the honey and coconut oil.
For the peanut butter, I put it in the microwave for a quick minute just to soften it a little, then I mixed in some honey to sweeten it some. And a little extra salt for contrast.
The chocolate mixture was in a double boiler set up, and I took my tablespoon and scooped out the chocolate into my mini muffin pan, which I had lined with muffin wrappers. It was hot. But I suffered through it! I put a small scoop into the bottom of the pan, then I used my fingers to flatten it out. Then I put a small scoop of peanut butter on top of the chocolate, then finished off with another scoop of chocolate, which I pressed out to make sure it covered all of the peanutbutter. And repeat. Until you run out.
You do have to work a little quick though, since the chocolate will begin to harden as it cools.
When you have finished setting up the cups, put them in the fridge to cool. The chocolate with the coconut oil will harden and the muffin wrappers make the nice edges so that when you take them out, they look like real peanut butter cups! Absolutely amazing. They are pretty rich too, so you won't be able to eat too many. Or maybe you will........
Labels:
broccoli,
chocolate,
GAPS,
mushroom,
pasta,
peanut butter,
pesto,
portabella
Subscribe to:
Posts (Atom)